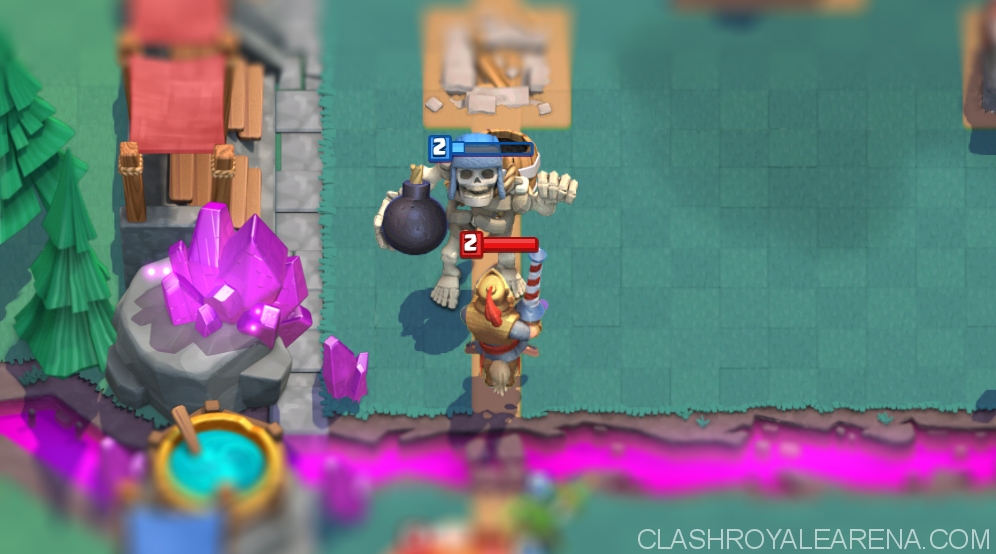
Ultimate Guide to Giant Skeleton
Guides By Clash Royal 2016-06-20 21:56:27
The drops and explosive bomb upon death, just like , but with a lot more damage.
At , Level 4 has 2657 HP, this allows him to soak a decent amount of damage. The only down side of is his damage per second, only 88. With this poor DPS, he even can’t kill the level in 1 hit.
Statistics
| Level | Hitpoints | Damage | Damage per second | Death Damage |
| 1 | 2,000 | 100 | 66 | 720 |
| 2 | 2,200 | 110 | 73 | 792 |
| 3 | 2,417 | 121 | 80 | 871 |
| 4 | 2,657 | 133 | 88 | 957 |
| 5 | 2,920 | 146 | 97 | 1,051 |
| 6 | 3,197 | 160 | 106 | 1,152 |
| 7 | 3,516 | 176 | 117 | 1,267 |
| 8 | 3,856 | 193 | 128 | 1,389 |
Strategy
Giant Skeleton is a very strong defensive unit
On defense, we usually use tanks to soak damage while small troops behind are dealing damage to take out attackers. can be used to finish both of these jobs. ’s damage soaking ability is not good as the others as he has the lowest HP comparing to all other tanks at equivalent levels. But, this is a good thing, because we all want him to die (sorry bro).
A well dropped ’s Bomb can easily decimate a push as well as kill all support troops nearby. I am going to show you how to play the to deal with various common pushes!
+ Support Push:
The best way to deal with this push is to place your between and Support troops, because always ignores or even worse, push him back to the Tower, where his bomb can’t literally do anything to the support troops behind. You will also want to do this when the is about to reach his destination, so he won’t walk outside the bomb’s range. Also, because there is no way to stop the , you will want to use some small troops like Spear to take it down faster.
+ Support Push:
This is an easier push to deal with as the has support troops protecting nearby. The best way to deal with this push is to drop your right on top of the to push him back “a bit” and he will have to walk back to the old position, this prevent him from dealing some more damage to the Tower.
+ Support Push
It is particularly tough to stop this one since the can easily out-speed the Bomb. The best way to deal with this push is place the down right in front of the push when everyone is bunched together. By doing this, the will have to walk through the diameter of the Bomb’s arena.
Tips for defending with Giant Skeleton
Okay so above are some ways to deal with specific pushes. I am going to give you some more defense tips while using !
Only use extra troops when everyone is in the bomb range! Sometimes, you will want to place something down to distract opponent’s troops and lure them to the bomb’s arena. But, don’t do that If all ranged troops are out of the bomb’s arena. No matter what troops you use to distract them, they will not walk inside that arena because the placed troops are in their attack range. You will lose the bomb and you will also lure the extra troops.
Pushing away from Tower
Once a troop has locked onto your Tower, you can try to place the down right between that troop and the Tower, he can push back that troop. That troop will either attack the or have to walk to the old position again.
Pull then blow a push up
You can place a distraction troop to pull front line troops to the middle then place the near the bridge to group them all. I usually do this do deal with particularly spread out pushes.
Sometimes, you should be tricky
can be effectively used for offense, defense and even distraction! In fact, a lot of players don’t want the to reach their Towers, due to his bomb. As such, they will use some to prevent the from reaching the Tower. This is great If you can launch another push on the other lane: , Hog, ,…
However, smart players will catch on this and you can’t trick them the second time! They will not overcompensate again, instead, they will use some small troops to distract the . So, it’s great to use some Spells to remove those small distractions and force your opponent to defend two lanes at the same time.
How to use offensive Giant Skeleton
It is very easy to draw the away from the Tower. and can completely stop him. If you want to use in your main pushes, you will need to support him with one of these :
I love so so much! Playing these guys behind your will eliminate his main problem, swarms. Spear for example, these guys are usually used for pulling but 1 is enough to take out them all. If manage to reach the Tower, they can deal good additional damage too.
: HP is good enough at soaking damage but giving him a bit more HP along with 360 degrees protection is not a bad idea at all! Place your right in front of the before he reaches the bridge! She will tank the Tower’s shots and protect him from all swarms nearby.
is great support for the because of his splash damage and his charging ability. The charge allows to reach distracting troops quicker. This will let the back on track quickly. Sometimes, you can use to push the so he can reach the destination quicker.
: High damage units like P.E.K.K.A can easily take down the . Luckily, we got the ! These guys can help easily deal with the reactive P.E.K.K.A. Also, they are great for taking some hits from the Tower too!
: This decent and cheap ranged troop with good AoE damage will help you remove all swarms quickly.
is such a helpful support card because of her splash damage and her .

